The SOLIDWORKS Rx tool allows you to easily capture video and diagnostic information for troubleshooting problems, checking your system performance, and updating your video card driver. It also allows you to run tests and compare your results with fellow SOLIDWORKS users.
By familiarizing yourself with how to use the SOLIDWORKS Rx tool, you’ll have the diagnostic tools to communicate and solve any problems you come across.
\uD83D\uDCD8 Instructions
How do I open SOLIDWORKS Rx?
SOLIDWORKS Rx can be opened from the Windows start menu or from the SOLIDWORKS task pane under the SOLIDWORKS Tools.

In Windows 7 and older you will find the SOLIDWORKS Rx tool by following this path:
Windows Start > Programs > SOLIDWORKS 20xx > SOLIDWORKS Tools folder
On the newer Windows platform you can either search type in the name, if you are using Cortana, or you can manual scroll through the apps.

SOLIDWORKS Rx Problem Capture Tab
SOLIDWORKS may or may not be running in the background when you run the tool. If an issue starts to occur during your SOLIDWORKS session, for example, you can start Rx and begin recording a video of what you are seeing. This information is invaluable when troubleshooting issues. This information can capture the process flow to create an issue you are seeing in your SOLIDWORKS as well as gathering important operating system information. There are three steps to a Problem Capture.
STEP 1: Record

After clicking on start capture you will see this screen.
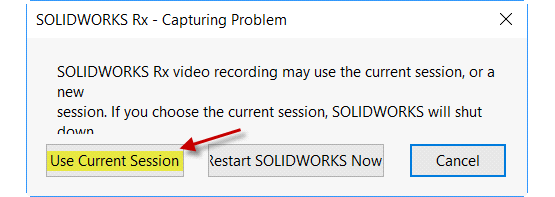
In most cases you will select ‘Use Current Session’. If you are going to start a new session of SOLIDWORKS and demonstrate the issue in its entirety, then choose ‘Restart SOLIDWORKS Now’.
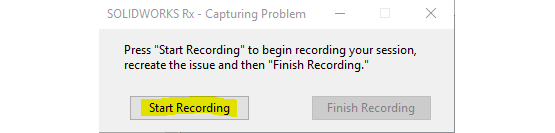
Click on the ‘Start Recording’ button.
Note: if you have dual monitors and the SOLIDWORKS menus do not appear inside the SOLIDWORKS graphics window, then these windows will not be recorded.
Click the record, move the record menu window aside so we can capture and access all of SOLIDWORKS as we record this issue. When done recording, click on ‘Finish Recording’.

Next, you will be prompted to close SOLIDWORKS to complete the next steps of the problem capture.

STEP 2: Package Files
Be sure to add your SOLIDWORKS files using ‘Add More Files to Zip’ if necessary and make sure you select a location, to save this information so you do not have to search for after the Problem Capture creation is complete.


Next, select ‘Continue to Step 3’.

STEP 3: Description You will need to completely fill out the Problem Capture Details form.

Once you click ‘OK’ your RX package will be saved. The resulting zip folder will need to be sent to Alignex. If the zip folder is larger than 10MB, please upload it to our FTP server.

\uD83D\uDCCB Related articles
Filter by label
There are no items with the selected labels at this time.